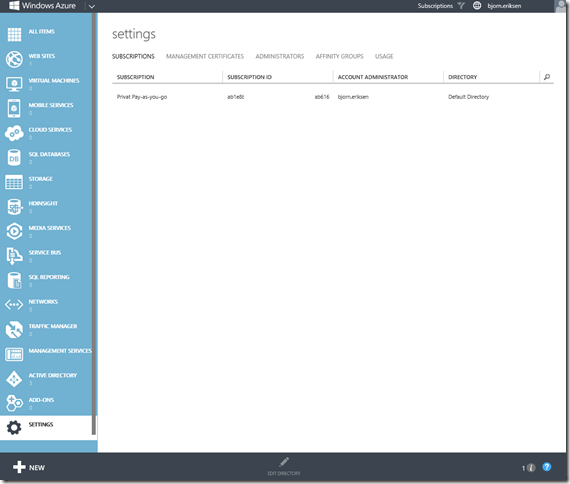
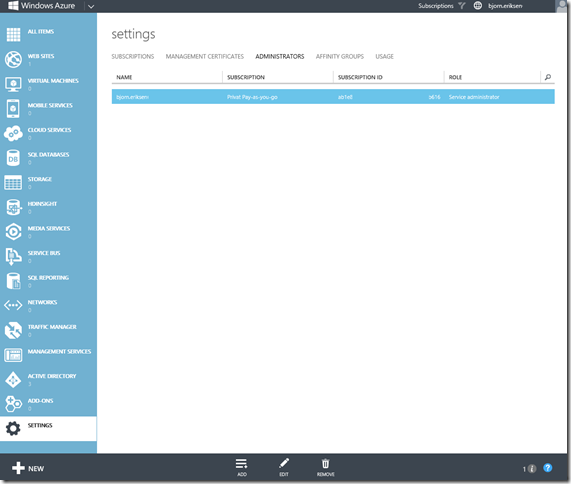
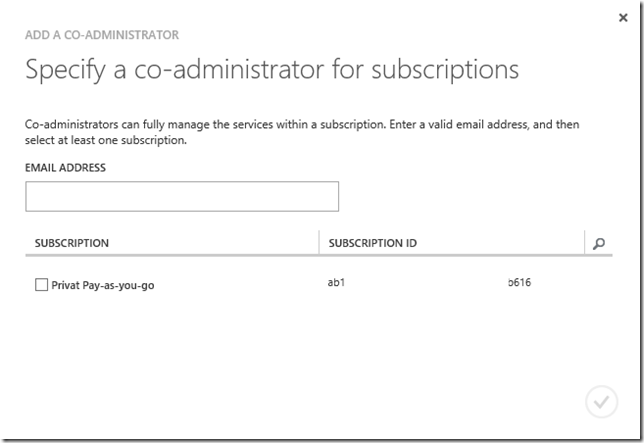
On every new account created in Windows Azure there is a limit on the total number of cores that you can use. This limit is set to 20 but can of course be changed.
To change this you need to open a support case and here are the easy steps to do this.
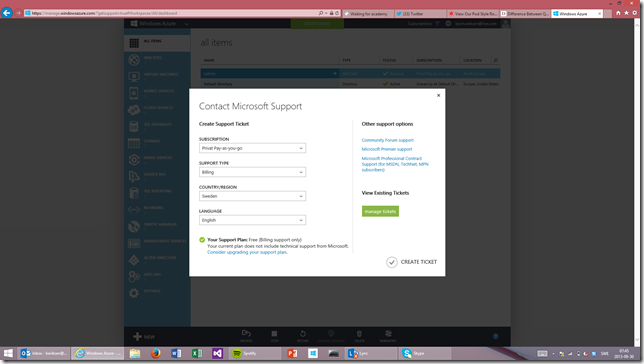
- Go to this site: Support
- Sign in with the account connected to the subscription that you want to increase core for. Here its important to chose the right account if you are administrating multiple accounts.
- Select the correct subscription and select Support Type: Billing
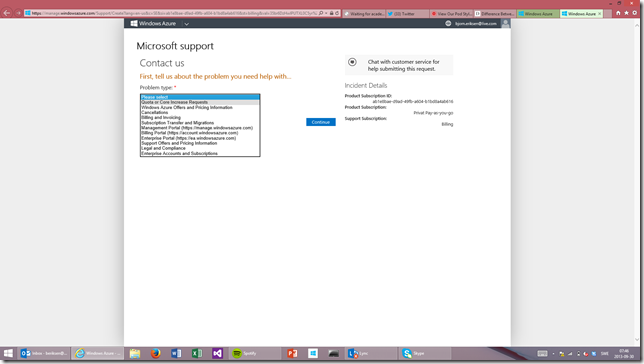
- You will then be presented with a number of different problem types. In this case you choose the one called: Quota or Core Increase Request.
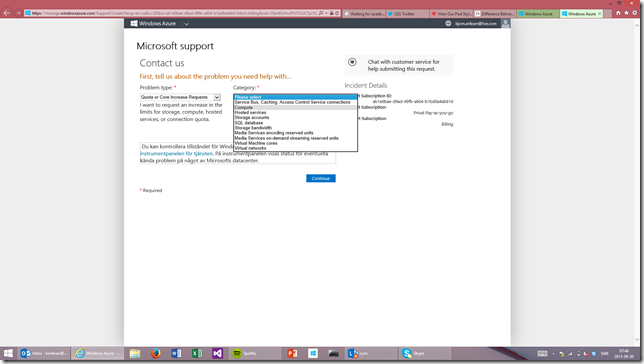
- Then you select the Category that you want to increase. In the case of cores you select Compute.
- After entering your personal and contact information you need to enter how many cores you are using today and how many cores you want. You could be using 0 cores or 20 cores, all depending on how much you are using Windows Azure. It could very well be 0 cores today if you are the kind that do planning up front

- On the same page you also need to enter a Severity. When I changed my subscription from 20 to 50 cores I set Severity C: Minimum Business Impact, but this is all up to you and your business situation.
- You will get and email that your case was submitted and then a couple of email when you support case changes status.
Below are the responses that I got from support:
- 7.50 – Confirmation email that the case was submitted
- 8.14 – Initial response with a named Support Engineer that would handle my case
- 8.18 – An email with a summary of the case and the working hours of the support engineer assigned to my case. I also got an option to change to a support engineer in my own time zone if that would be more efficient.
- 8.25 – Case closed and cores increased.
Please note that this will not affect the cost of your Windows Azure subscription or the number of cores that you use to your services today. This will only change the total number of cores that you CAN use in your subscription.
